As part of the Hart of Ely project, one of the first things we made was Viking-style antler rings.
These make great gifts, are relatively cheap and easy to make, and infinitely customizable! So, here is a brief how-to guide so you can make your own:
Step 1: The supplies
You will need:
- Red deer antler – these can be bought online, or sometimes from deer parks and other sources.
- A tenon saw or similar for cutting the antler into ring-sized pieces
- A sharp knife (not a large kitchen knife)
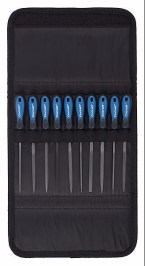
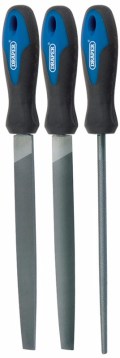
- A round and flat file
- A razor saw and a roundel tool/ ring and dot auger for decorating (Or, you can make your own roundel using a cheap flat-head screwdriver and a mini-file). Razor saws come in different widths, its up to you which to use, I prefer a 0.20mm 52TPI blade
- A bradawl
- Several grades of wet and dry sandpaper (150, 300 and 400 should do fine)
- Micromesh in grades 2400, 6000 and 12000
- Paint and brushes (enamels work best, but acrylics will do too)
- A vice (optional, but it helps)


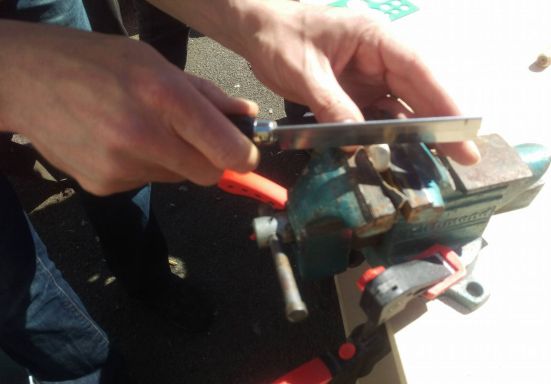
Step 2: Cutting the antler for ring blanks
The first part of the making process is to examine your antler, and look for parts of the main beam (not the tines) that are as round as possible. If they’re more triangular or rectangular it doesn’t matter, fingers aren’t perfect circles anyway. Cut the main beam of the antler just before and after the tines, to get a look at the cross section.
You are looking for a nice, thick outer section (compact bone) so that when you remove some of it later, the ring won’t snap. Unfortunately the only real way to tell is to keep chopping up the antler. When you have a nice piece, saw it to the rough width you want your ring to be – it’s really up to you

Your chopped up antler should look like this
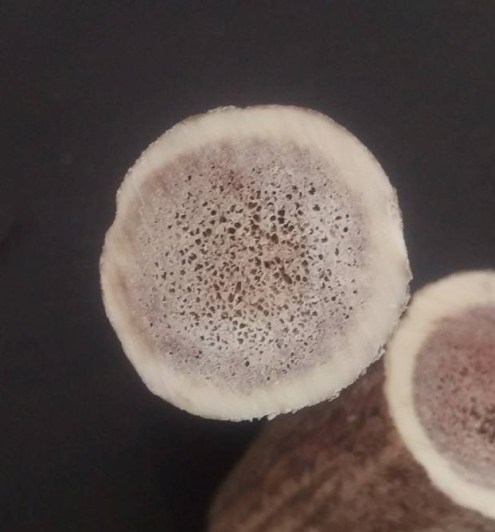
This would NOT work, the compact bone is too thin
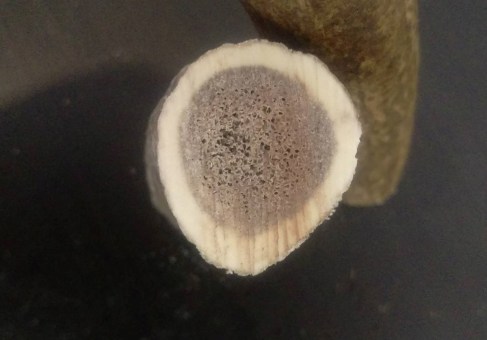
This piece will work, you may have to file off more of one side
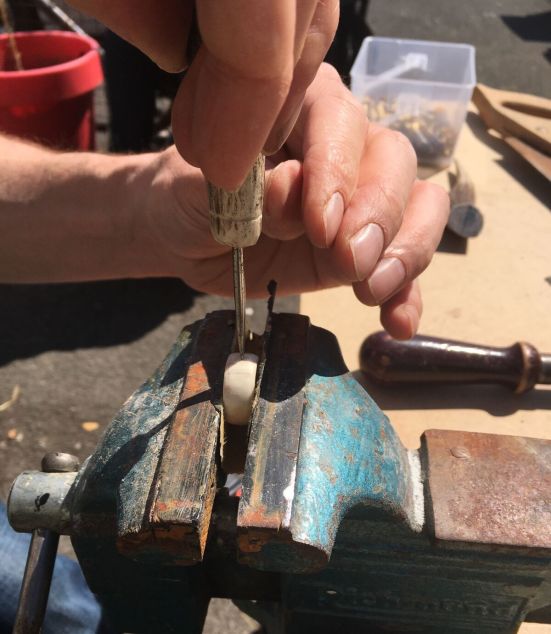
Step 3: Filing the outer surface & removing the centre (trabecular bone)
Use your knife to create a hole through the soft trabecular bone in the centre of the antler. Twist it through, and turn it until its wide enough for a circular file.
Next, file away all the inner bone until you’re just left with the hard compact bone. Then, work out what finger you want it to fit on, and keep filing away until it does. A ring size guide will help here too! This process may take a while, but stick with it!
Finally, use a flat file to remove the brown outer surface of your antler ring, so you’re left with an almost totally white object. Some antlers have really nice marble-like patterning in them, do not try and remove this, it’s just part of the beauty of the material.
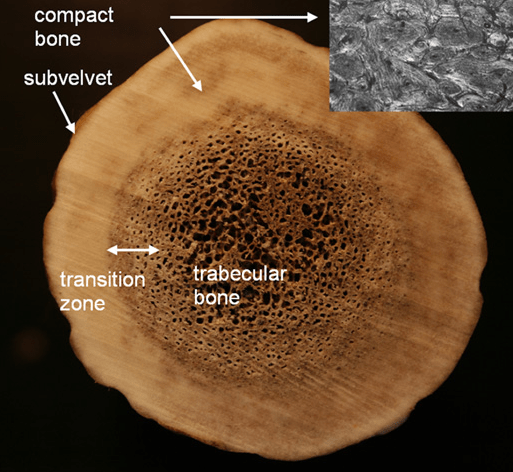
Diagram showing an antler cross-section. The porous trabecular bone all needs to be removed, as it absorbs water and sweat when wearing
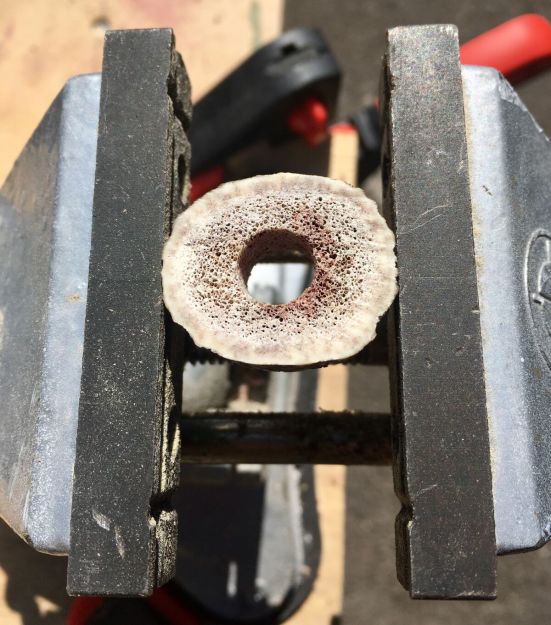
Removing the centre with a knife
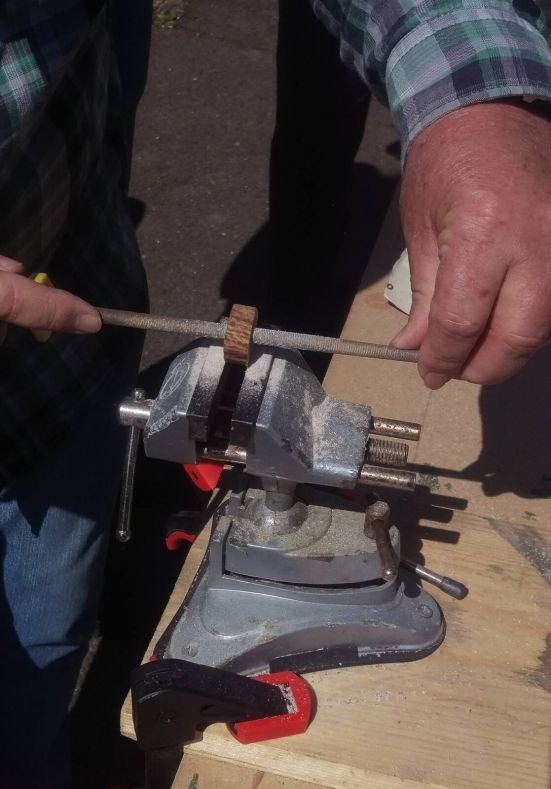
Filing away the trabecular bone
Step 4: Filing and sanding
Next, use your flat file to round off the edges of the ring, to make it less square and jutting. Depending on the amount of material you have at this point, you may want to file down the whole outer surface to make the ring seem less bulky on your hand. Be careful to use the flat of the file, because if you slip it is easy to cut grooves through the antler with the file edge.
Then, when you’re happy, start sanding! Sand inside and outside of the ring, working up from a rough grit to at least 400, or 600 if you have it.
Step 5: Making your decorations
What patterns you want to put on your ring is up to you. Below are a couple of examples, but you can pretty much do whatever your imagination allows. The most common patterns are lines, circles, dots and runes. Draw your design on first in pencil, and then when you’re happy start with the tools.
To make lines, use your fine-toothed razor saw. Make a guide-cut first, and then remember to tilt the saw to the curve of the ring as you cut. DO NOT cut too deeply, you only need it to be deep enough to see, and to paint into.
For dots, simply use a bradawl and work it into the antler surface. Be careful not to put too much pressure on, or the antler can snap.
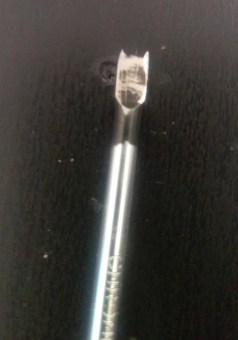
For roundels/circles, you need a roundel tool. To make one, get a cheap, small flat head screwdriver, and use a mini-file to file away the head into two points, one slightly longer than the other. Failing that, you can buy them on eBay, but they are expensive and hard to find. Once this is done, make a mark in the centre of your circles with the bradawl. Then, place the longer point of the roundel into the bradawl mark, and turn it. Keep the tool straight, and keep turning, until the smaller point makes contact with the ring. Keep turning and the point will carve a perfect circle into the antler. Again, be careful not to slip!
You can even make roundels of different sizes and put the circles one inside the other.
Sawing lines with the razor saw
Turning out a roundel
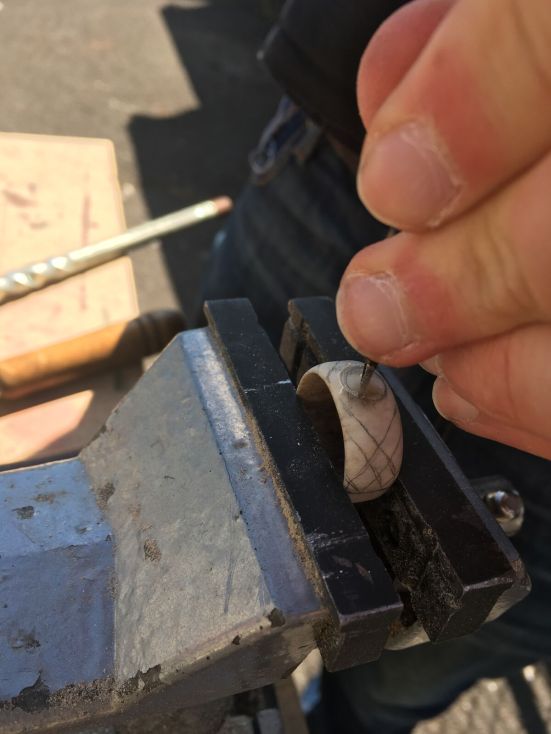
Turning a roundel, with decoration lines marked on
Step 6: Finishing off
Next, use your sandpaper and micromesh to polish the ring, working up from 400/600 grit, through the micromesh grades to 12000. This final grit will leave the ring with a really nice shine. If you want to, you can leave it here, but we find paint makes the decoration stand out better.
Run your saw and roundels through the decoration once more, to remove any dust that has accumulated in the grooves.
Then, grab any paints you want, and paint into the designs! Try to be careful, but don’t worry if you get paint over the rest of the antler. Because of the polishing, the paint should only stick into the grooves.
When the paint is dry, re-sand and polish, and the excess paint should come right off!
Finally, it helps to apply a coat of clear enamel, to keep the ring looking nice and stop it yellowing over time. Apply it all over the ring, and then cure it by leaving it on the radiator, or putting it in the oven at 50-100 degrees for 5-10 minutes.
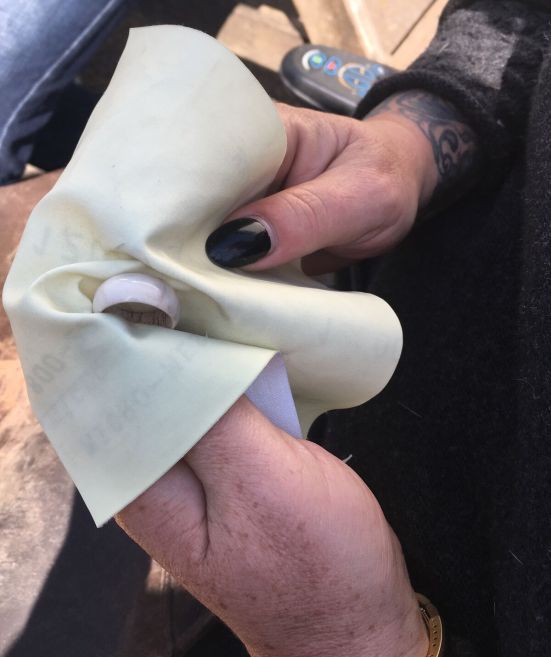
Polishing an undecorated ring – Check out the shine!
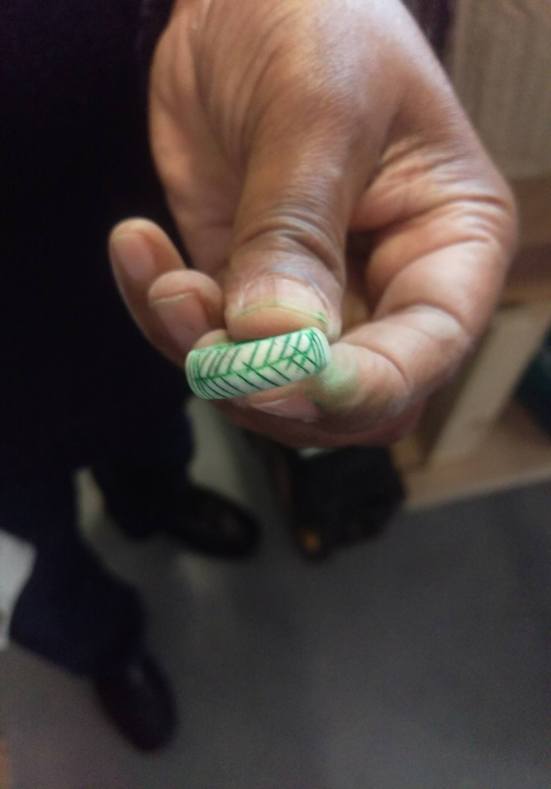
A ring mid-painting, before removing the exces


Thats it! you’re done! Enjoy your new rings, and if you want to share them with us please do!
